English version of this content is provided by automatic translation without the assistance of a human translator. See the Japanese version of this content for accurate and up-to-date information.
Target plan 
Here are the steps to add / remove existing diagnostics that are already using Secure SketCH to a group.
Note
Only members with administrator privileges can add / remove diagnostics.
Add diagnostics | Delete diagnostics
Add diagnostics
Flow of additional diagnosis
1. Set the diagnostic ID you want to add from [Group Management].
2. An invitation email will be sent to the email address you set.
3. The addition is complete when the invited diagnostic ID member approves the addition from the invitation email.
1. At the top of the screen  Click the icon

2. Click [Group Management]
The setting items are displayed. Click [Group Management] to display the group management screen.

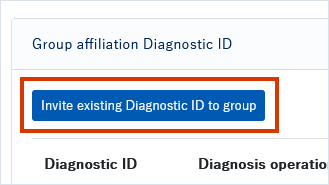
3. Click Invite existing diagnostic ID to group
Click Invite existing diagnostic ID to group in the middle of the group management screen.
4. Set each item on the existing diagnosis invitation screen
The existing diagnosis invitation screen opens, so set each item.
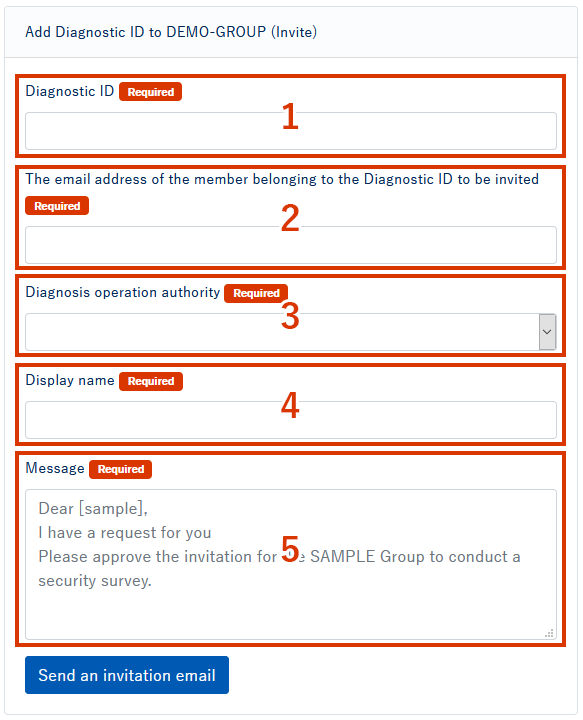
- Enter the ID of the diagnosis you want to add.
- Enter the email address of the member who belongs to the diagnostic to be added.
- Set and select group member permissions for the diagnostics you want to add. There are two types of permissions: read / write / read only.
Select Read Only if you do not want the group members to edit the diagnostic response status you want to add. - Enter the diagnostic display name that will be displayed on the integrated dashboard.
- Enter the message that will appear in the body of the invitation email.
Note
Please note that the invitation email will not be sent if the email address does not match the address of the member belonging to the diagnostic to be added.
5. Click Send Invitation Email
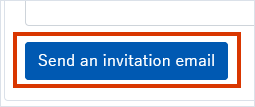
An invitation email will be sent to the email address with the specified settings. The addition is complete when the invited member approves the addition from the invitation email.
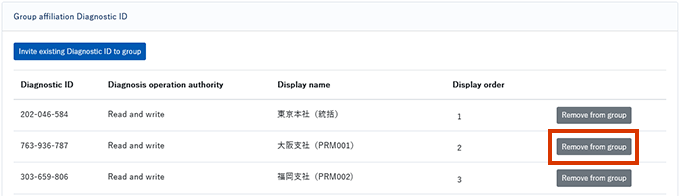
Delete diagnostics
TIPS
If you remove the diagnostic from the group, it will no longer appear in the integrated dashboard.
It will be removed from the group, but the diagnostics themselves will not be removed, so you can invite them back into the group.
1. At the top of the screen Click the icon
2. Click [Group Management]
The setting items are displayed. Click [Group Management] to display the group management screen.
3. Click [Ungroup]
Find the diagnostic you want to remove from the group diagnostic ID in the middle of the group management screen and click Remove from Member.
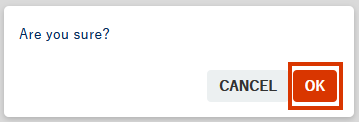
4. Click OK
A confirmation pop-up will be displayed. Click [OK] to complete the deletion of the diagnosis.